I began construction of the trestle bridge from Central Valley.
There’s been some progress on the benchwork, I’ve completed all sections and have bolted and levelled together. The next task will involve drilling the holes for wiring on the underside, installing the bus wire and then gluing down the XPS foam sheets. Will cover this in a separate post.
THE BRIDGE

It’s 150 feet in HO scale, so quite a decent size and will allow me to put in a decent width river scene. I need to get this model mostly completed so I can better guage the width of my proposed river. If you’ve never built a kit like this before, which I haven’t, then there’s a couple of things to keep in mind:
- There is work required for cutting or shaping parts. This means you will require some tools beyond the simple modelling knife and glue. The instructions lay out what is required to achieve the best results. I won’t list everything here but they are pretty standard items to have in your modelling arsenal.
- Some parts of this kit are quite delicate so extra care should be taken during cleanup. As you will see, I did myself a little bit of a mischief.
- As a smaller company, Central Valley does not have the ability/budget to create impeccable tooling and molds much large companies can afford to do so there may be more flash and mold lines to clean up than you’ve experienced before.. (I will state for the record this is in no way a dig at Central Valley or their kits. Taking your time and following the instruction will result in a beautiful model, though I would recommend people who have NEVER built a kit before perhaps start with something smaller or more basic to get familiar with tools and modelling techniques. Youtube is your friend!)
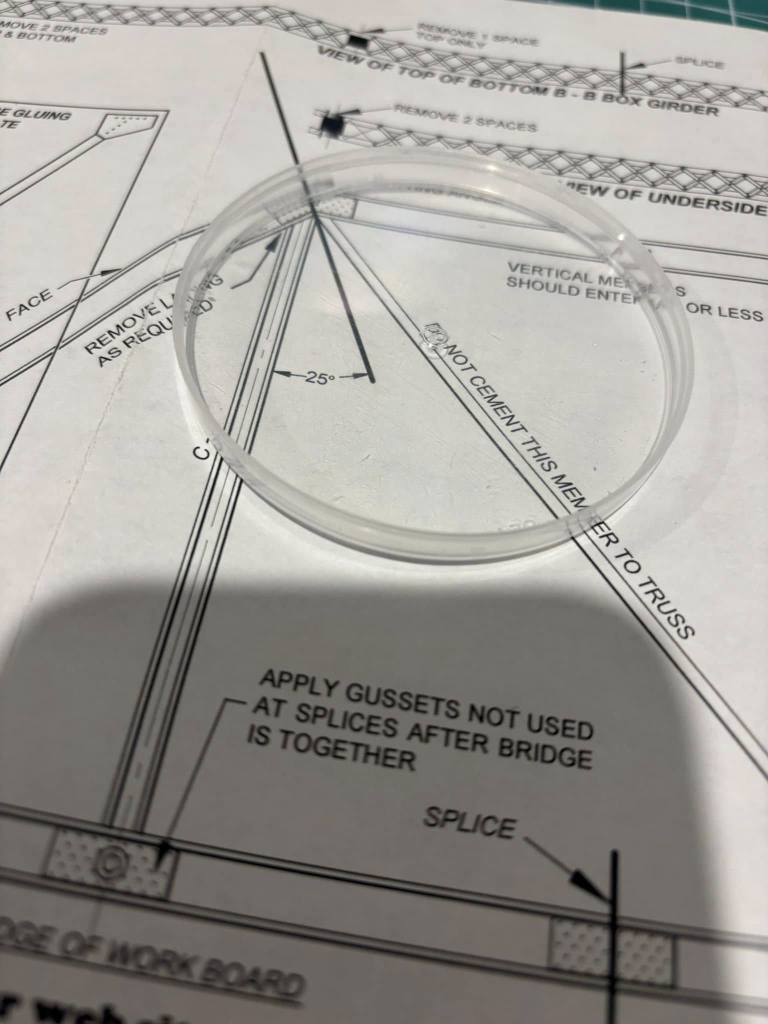
Included with the kit is a template to correctly align pieces and establish the correct angles etc. Building over plans is not as common in the modelling world in this day and age but if you ever want to start scratch building, this kit is an excellent introduction to some of those concepts.
I clipped the cross braces from the sprues, cleaned them in pairs and aligned them on the template. It is a worthy idea to possible make a photocopy of this template and glue it to a piece of wood or glass to provide a firm and stable surface to work on.
I then glued them with my favourite styrene cement, Tamiya Extra Thin Cement.


As I previously hinted, tragedy struck during the clean up of these very thing parts.

I was tired and a little careless. Never rush!!! Take your time and enjoy the process.
I already knew the best fix for this was some sort of backing fish plate. This would be hidden from view on the completed model which is a small blessing, but I still wanted to create the best possible join. I had no flat styrene and there were no sections the could be pruned from the sprues of the kit. Lucky for my bridge (and bad for my diet) I had a Pringles lid that would provide the material needed.
I cut a sliver from the lid, carefully aligned the parts and glued the part in place. SUCCESS!!
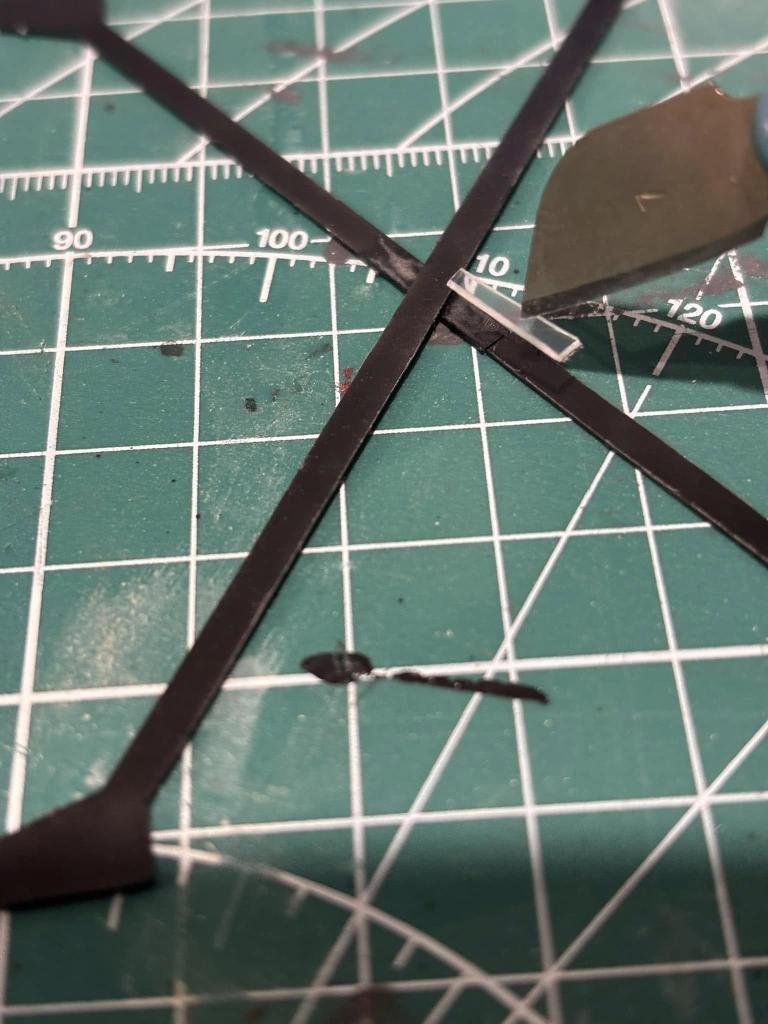
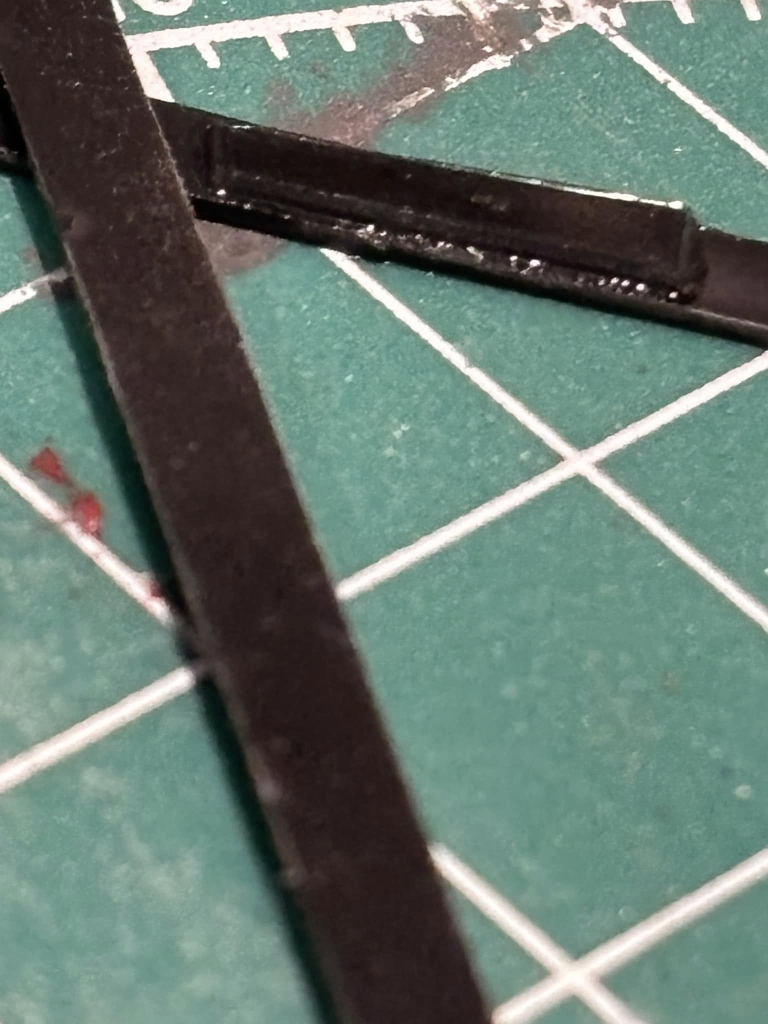
Apart from the glue lifting some of the marking from my cutting mat, I’d say the join is excellent and invisible from the viewing angle.
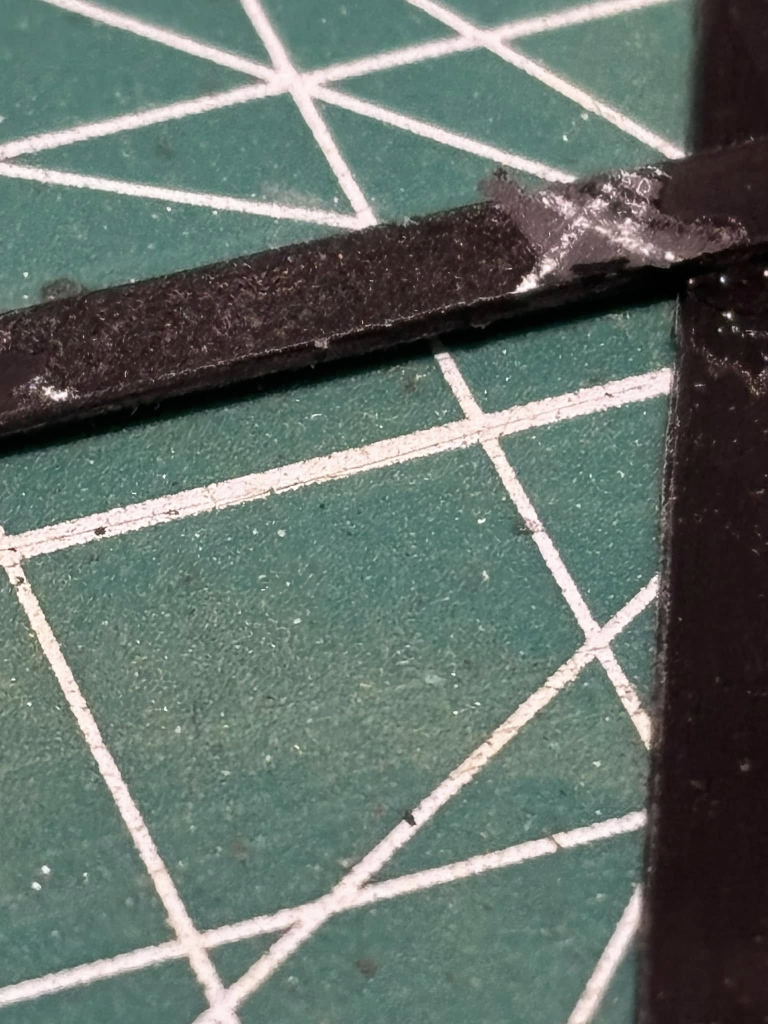
With disaster averted, I continued creating these bracing assemblies.
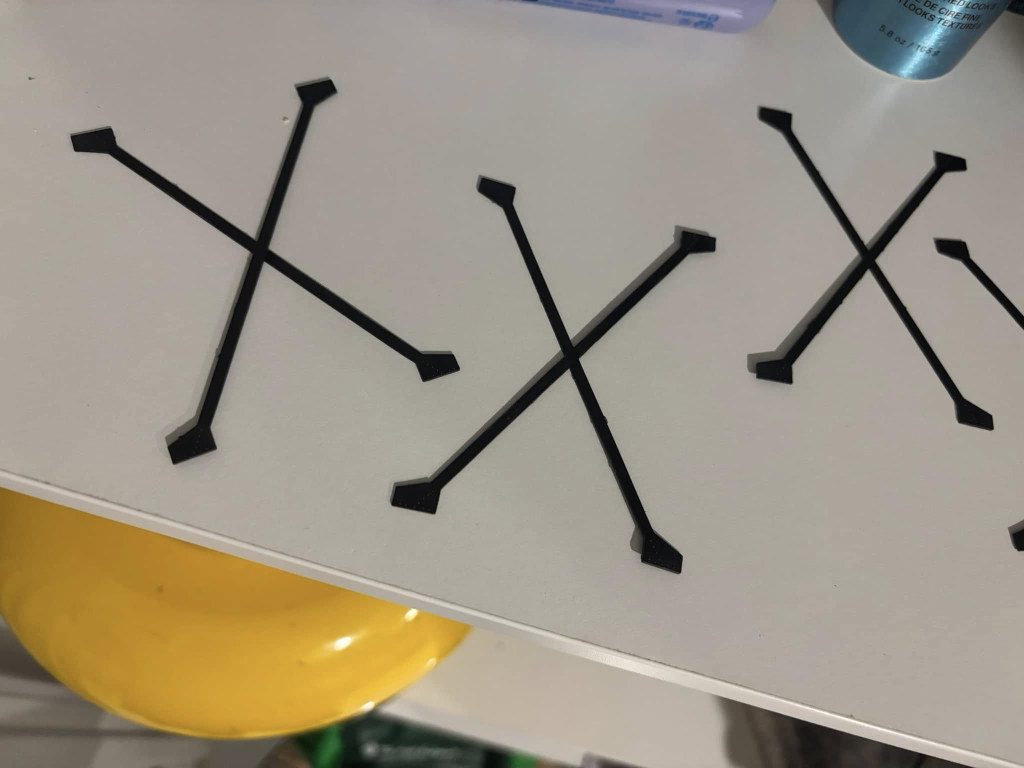
Once I fix these cross brace assemblies to the main bridge structre it should be sufficiently ridgid in order for me to finalise the clean up on the parts ready for paint.
I’ve actually already constructed most of the primary base structure, but I got too excited about building and did not photograph the process, but I will make a separate post on how it went for me.