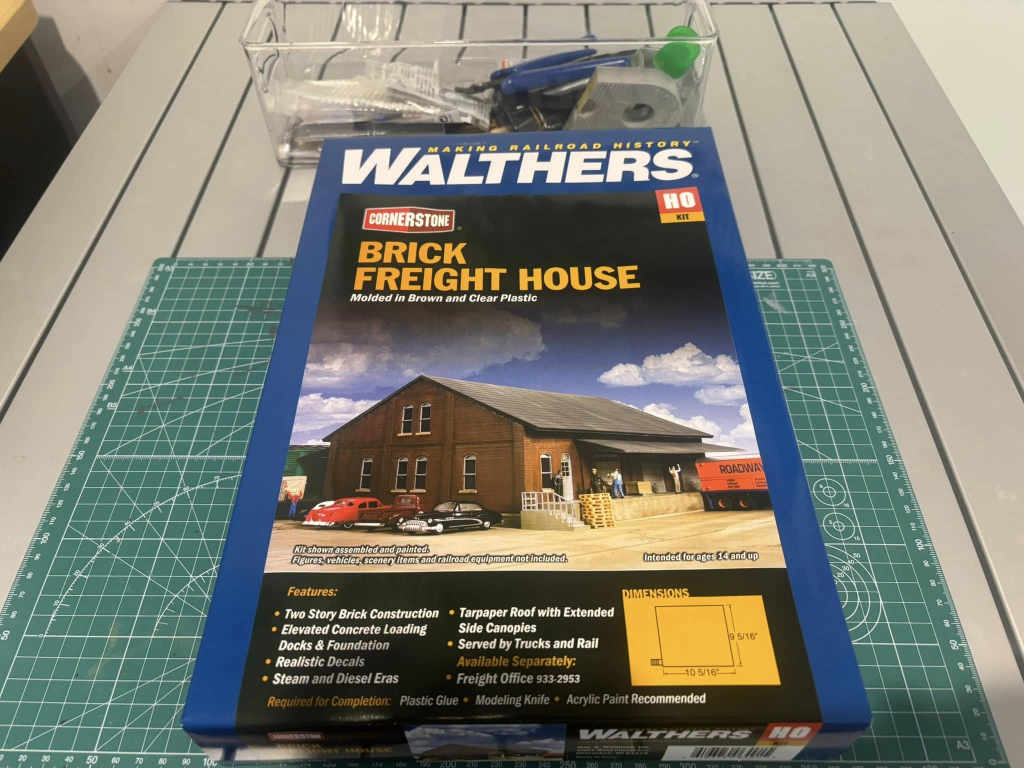
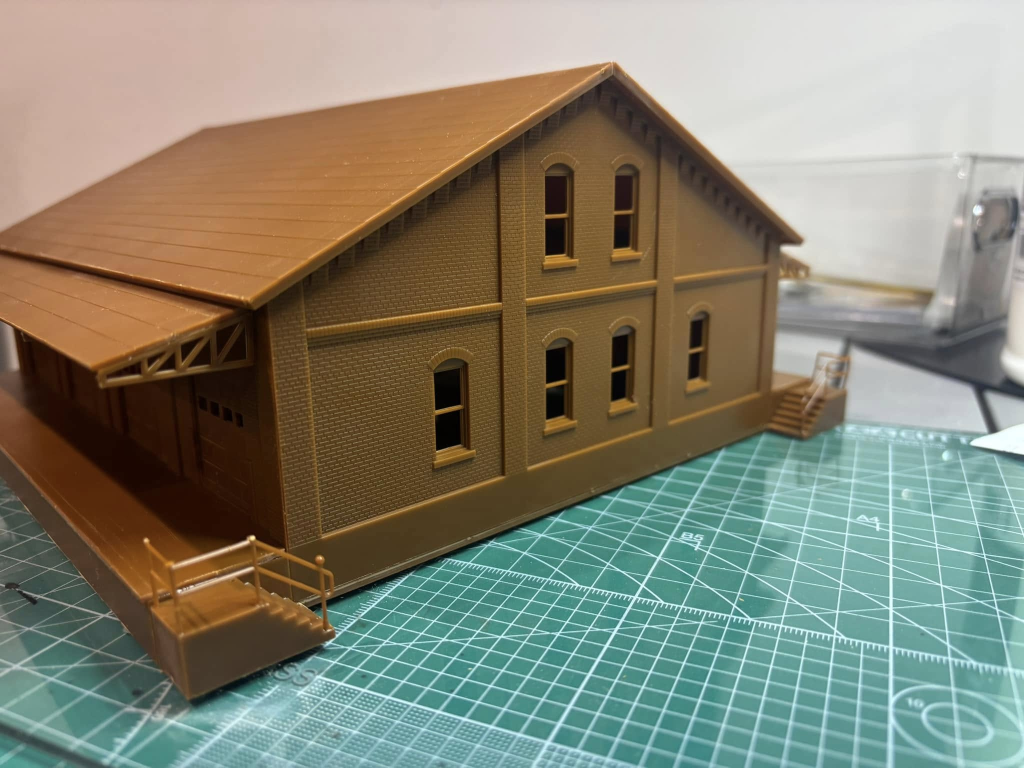
I’ve watched a crazy amount of model train content on youtube over the years, and while my talent may not be up to the levels I would like, I do still want to try and present a prototypical appearance with my track. As Boomer Dioramas reminds us, “the track is a model too”.
Whilst working for Queensland Rail, we would sometimes need to not cut in to lay new rack during rain and wet periods for the sole reason that with the wet ground, we would not be able to maintain the correct superelevation for the new track being laid which could result in derailments. I knew I wanted to model this, and there is no question in my mind that layouts that feature superelevations have an added touch of realism as the trains bank into those curves.
Naturally I took to youtube to find some different methodologies and cam across fellow Aussie Jason Wood and his Youtube Channel.I found his video on superelevation super informative and the technique is simple so I set out to unashamedly copy what he had done.
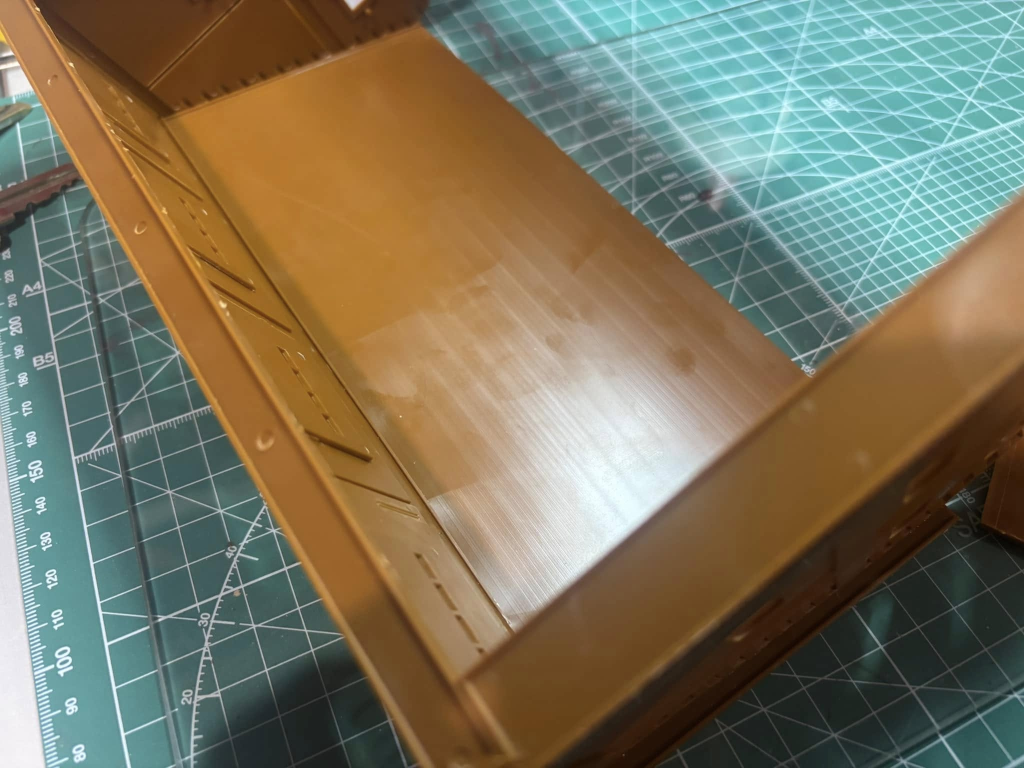
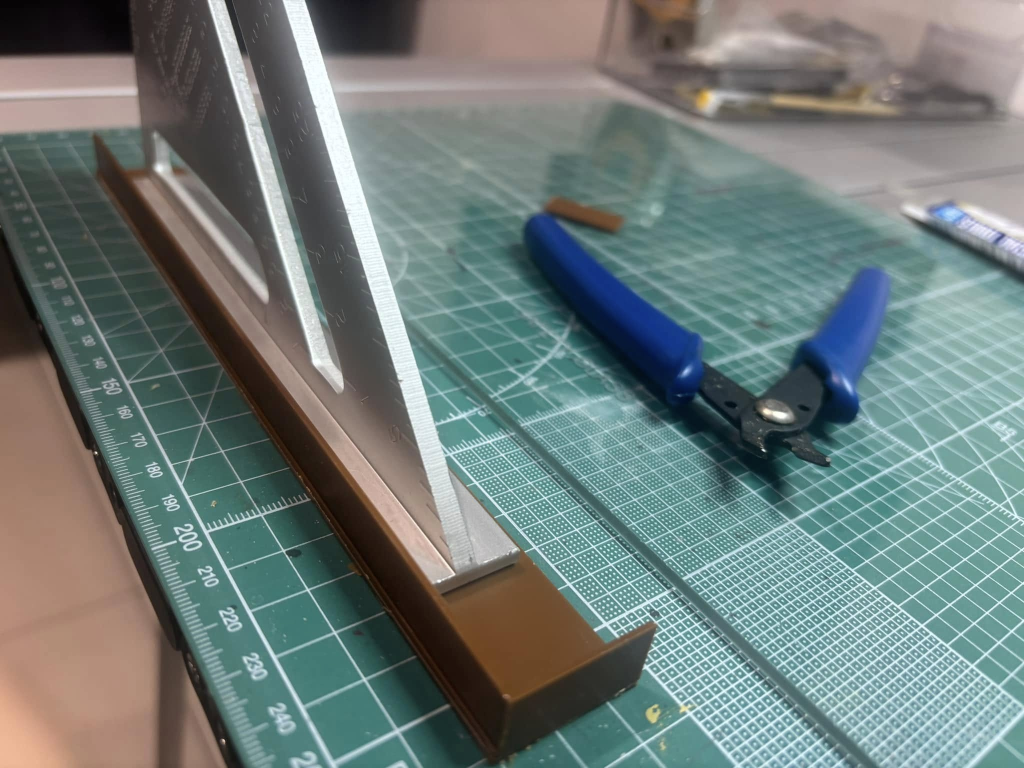
First, the material. I used the exact same Evergreen strips Jason used. He had already done all the maths and the 1mm thickness of the material is very close to the correct scale height.

I cut the styrene into strips approxiamtely 20mm long. I then rean a bead of glue along the roadbed edge that required the elevation and waited for that to dry.


I then laid the track, running a bead of glue along the tops of the styrene strip and on the opposite side of the roadbed, pinng the track in place using drawing pins. I’ve found I have not even needed to weigh the track down, the pins to an excellent job of keeping the track in position and once it dries is very much set in place.

I think you can agree from the next photo, this technique works very well and after running the loco and some wagons through these curves I can say I am very happy with the end result.

It’s always a boon when you find ways to easily enhance the realism of your layout. If you’re reading this, please go ahead and give Jasons Youtube channel a sub.